This programming project may be done individually or in groups of two. If you work with a teammate, hand in one copy of your code with both names on it. It is okay to get help from the TAs and/or the instructor if you get stuck, but you should try to do it on your own first.
The objective of this project is to use color manipulations to create 3-dimensional pictures.
3D Effect
Humans are able to perceive depth, in part, because we receive two slightly different views of the scene in front of us: one from the left eye and one from the right. It is possible to trick the brain into perceiving a flat image as three dimensional by combining both points of view into a single picture. Anaglyph images* represent one method for accomplishing this. In an anaglyph image, the two different viewpoints are stored in different color channels: the red channel contains an image of the scene as it would appear to the left eye, and the blue and green channels contain an image of the scene as it would appear to the right. When the resulting image is viewed through a pair of red/cyan 3D glasses, it appears to be three dimensional. For this assignment, you will write a program that generates anaglyph images.Examples
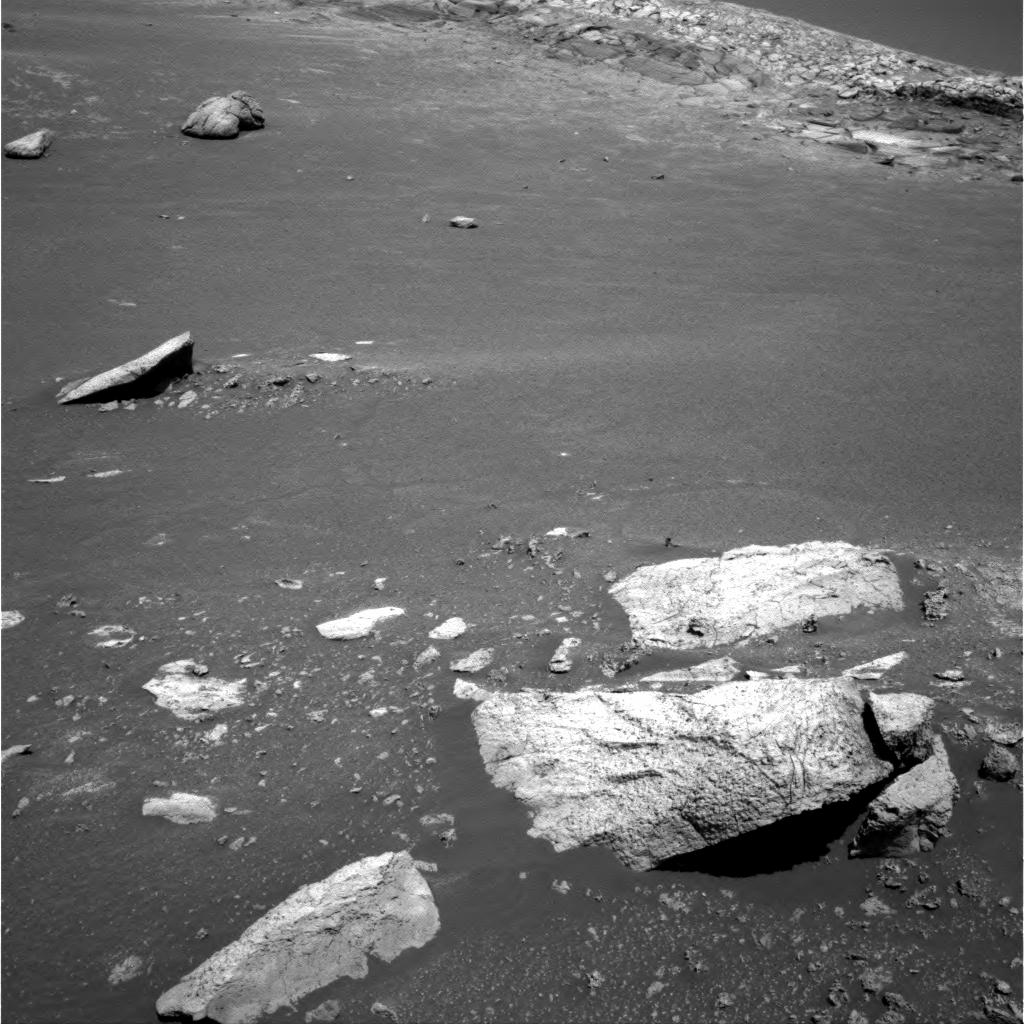
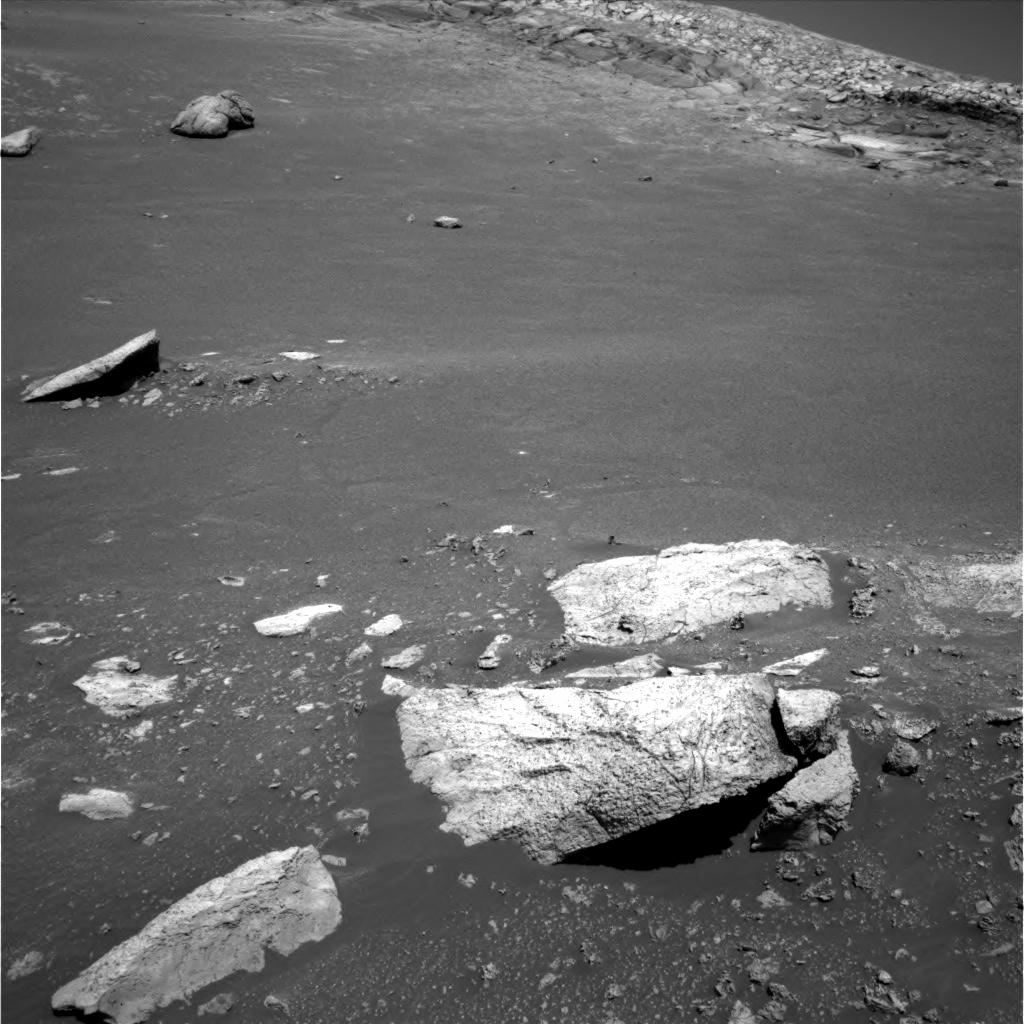
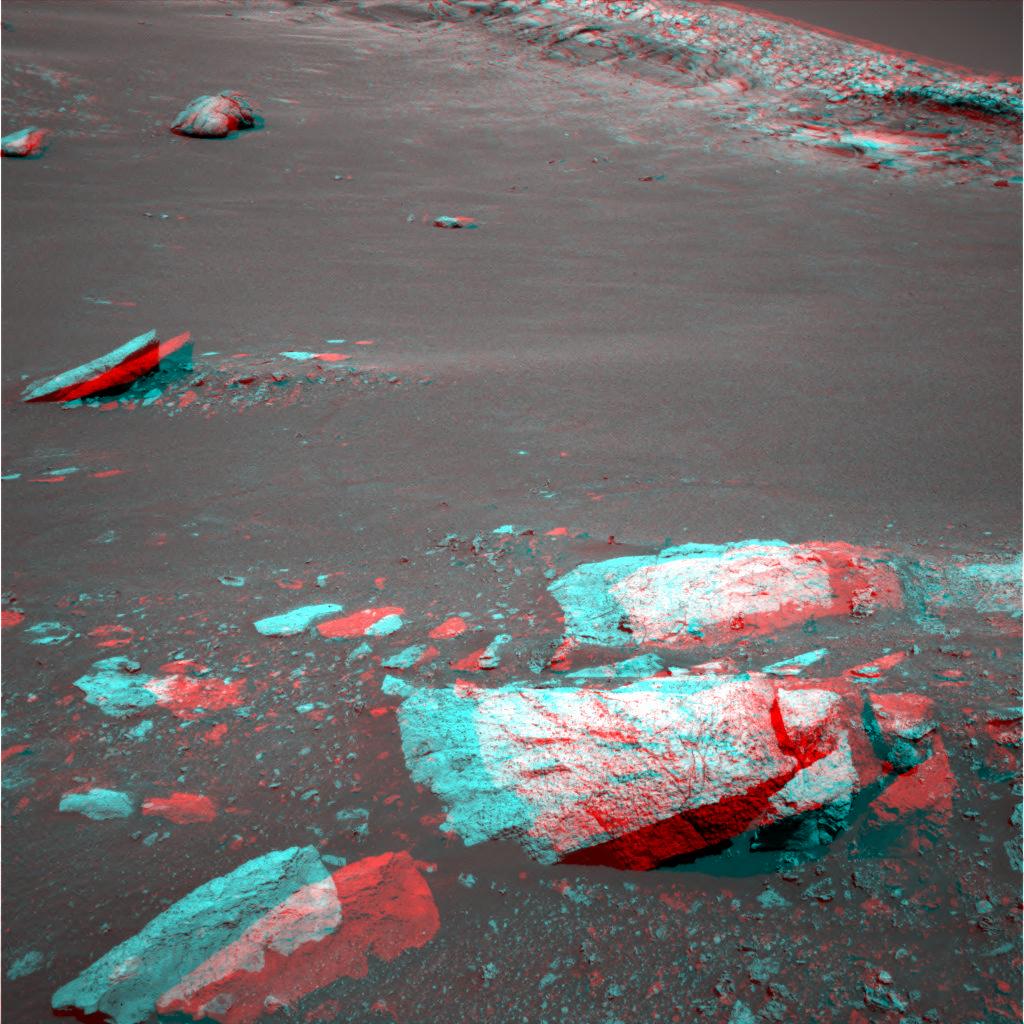
The following images were obtained from cameras on the Mars Exploration Rover. The image on the left represents what the left eye would see; the image on the right what the right eye would see. The image on the far right is the 3D image. You will need red/blue glasses to see the last image in 3D.
 |
 |
 |
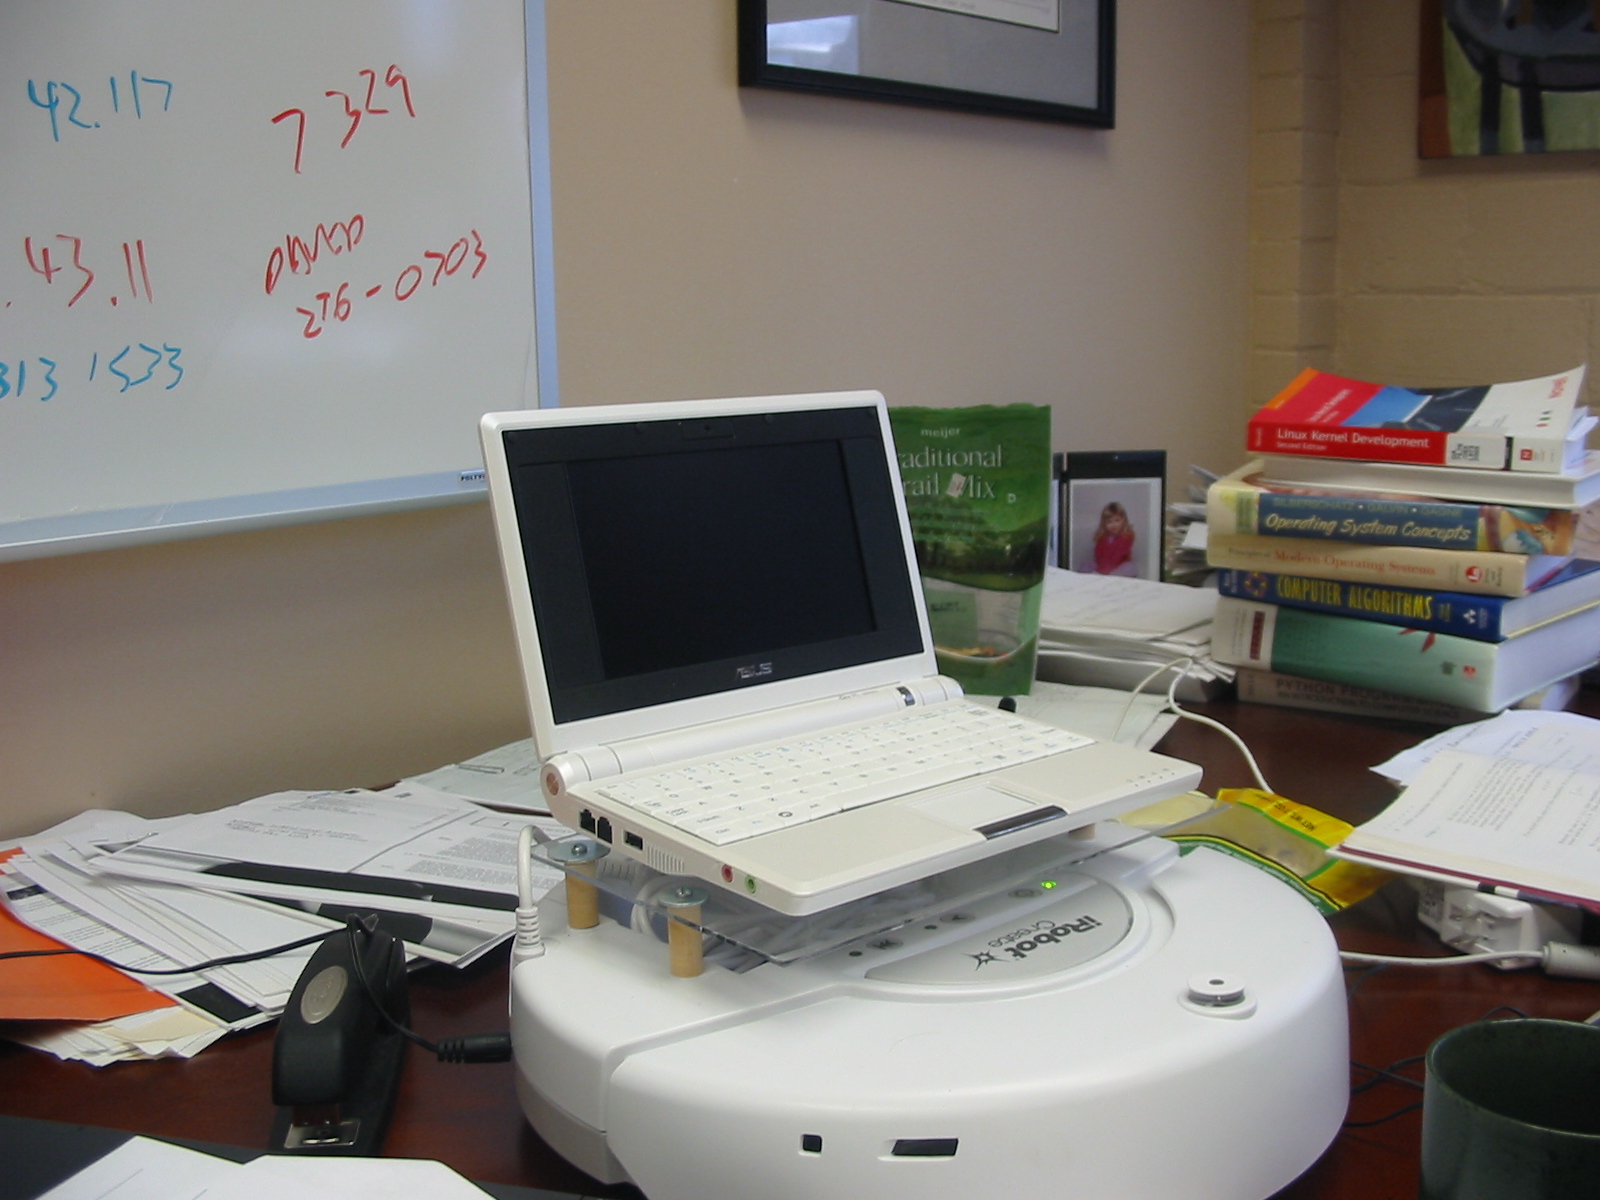
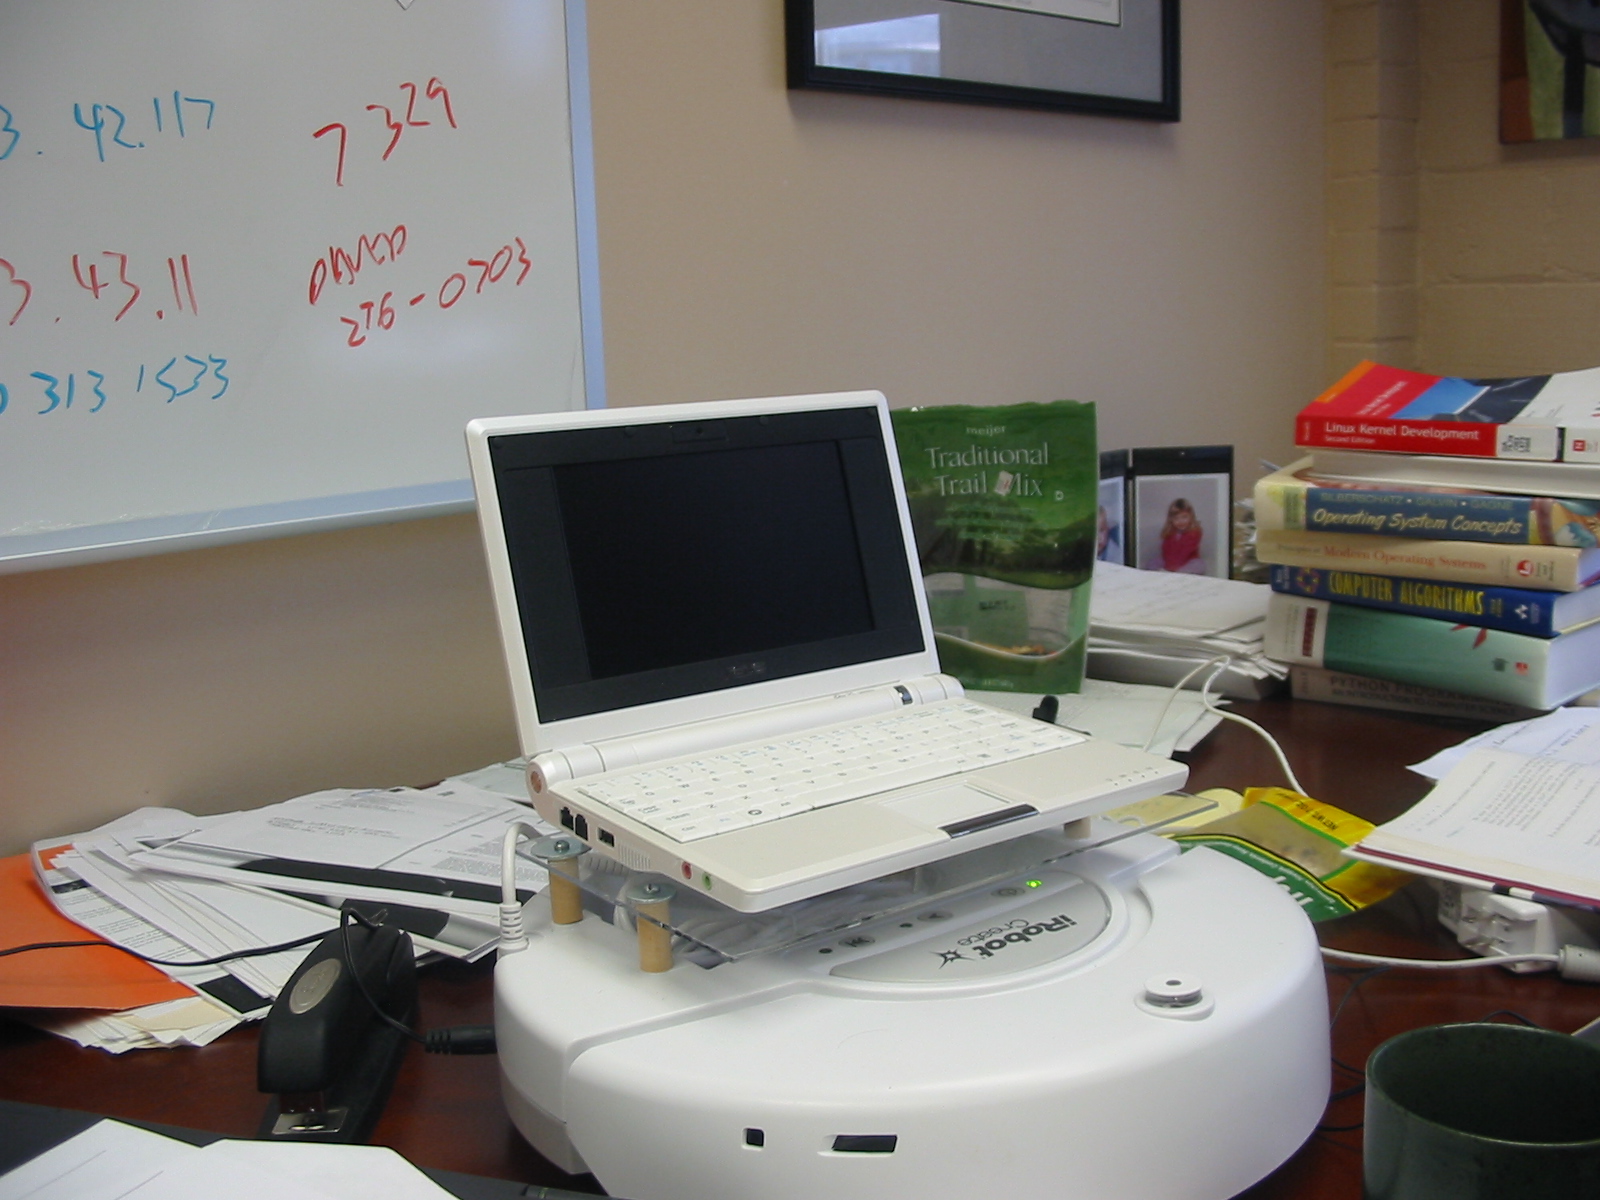
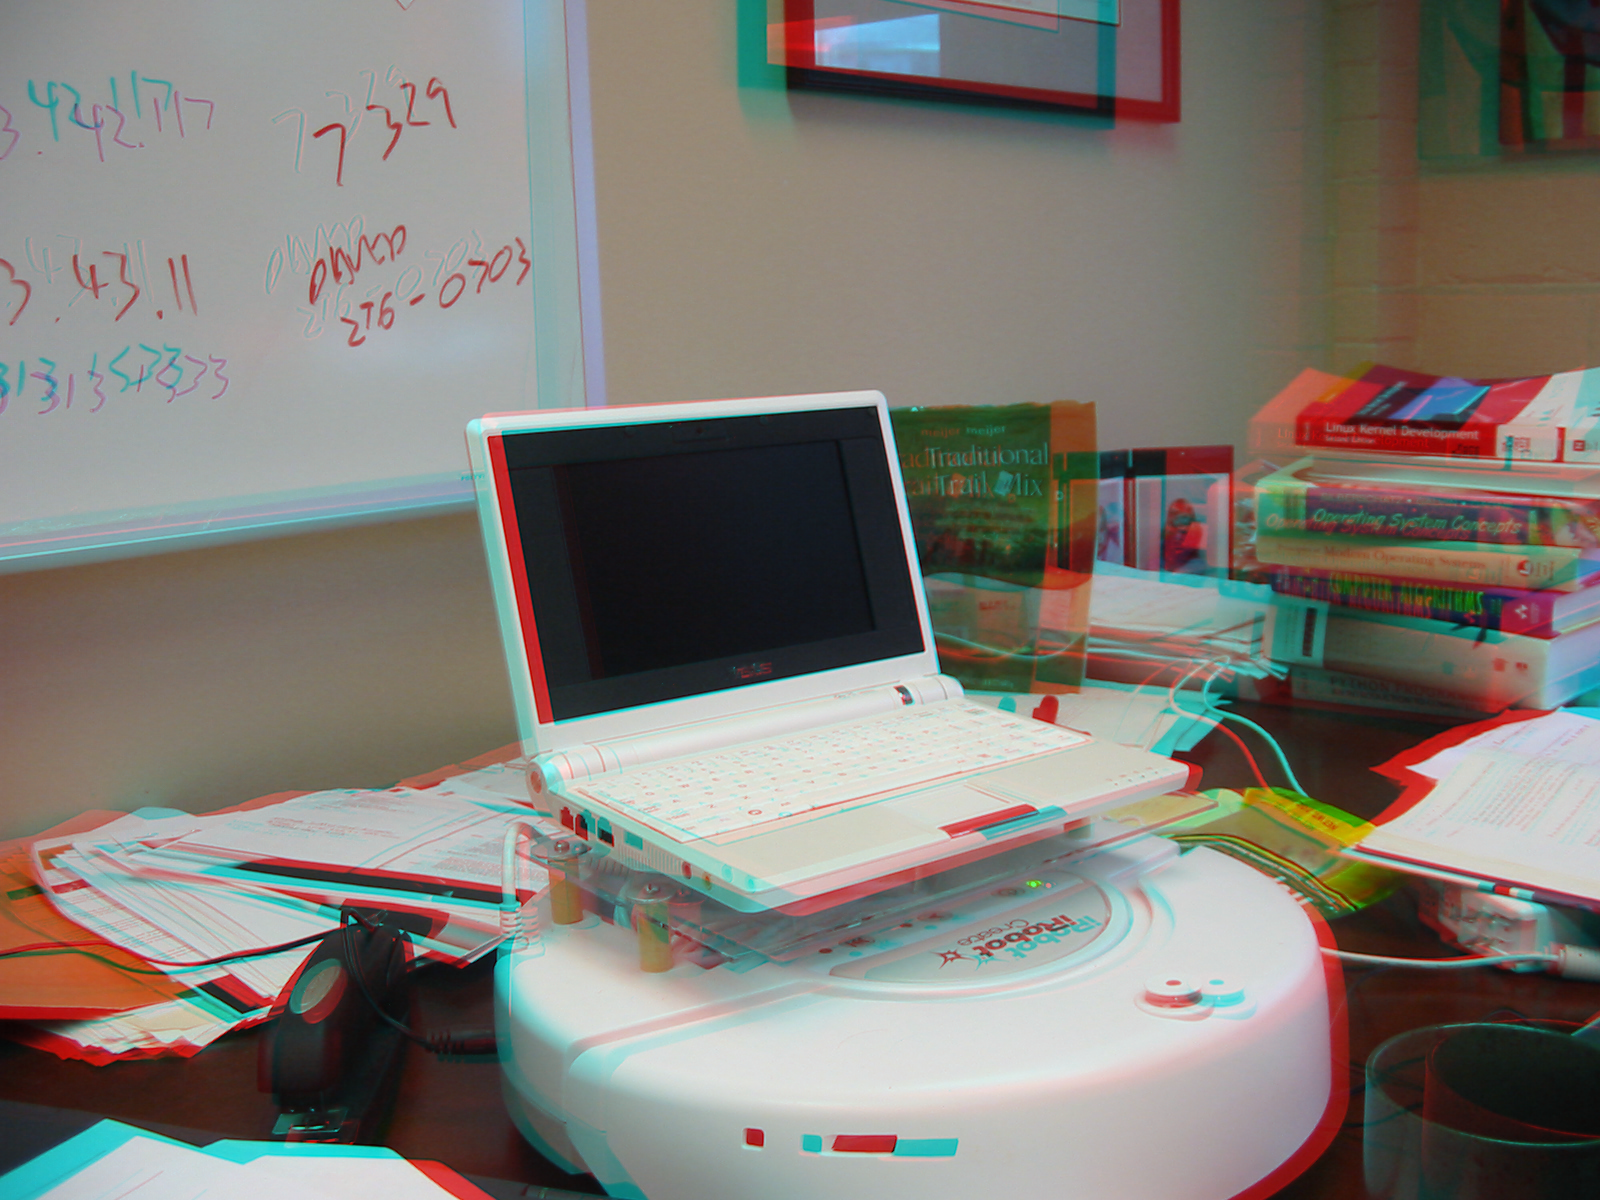
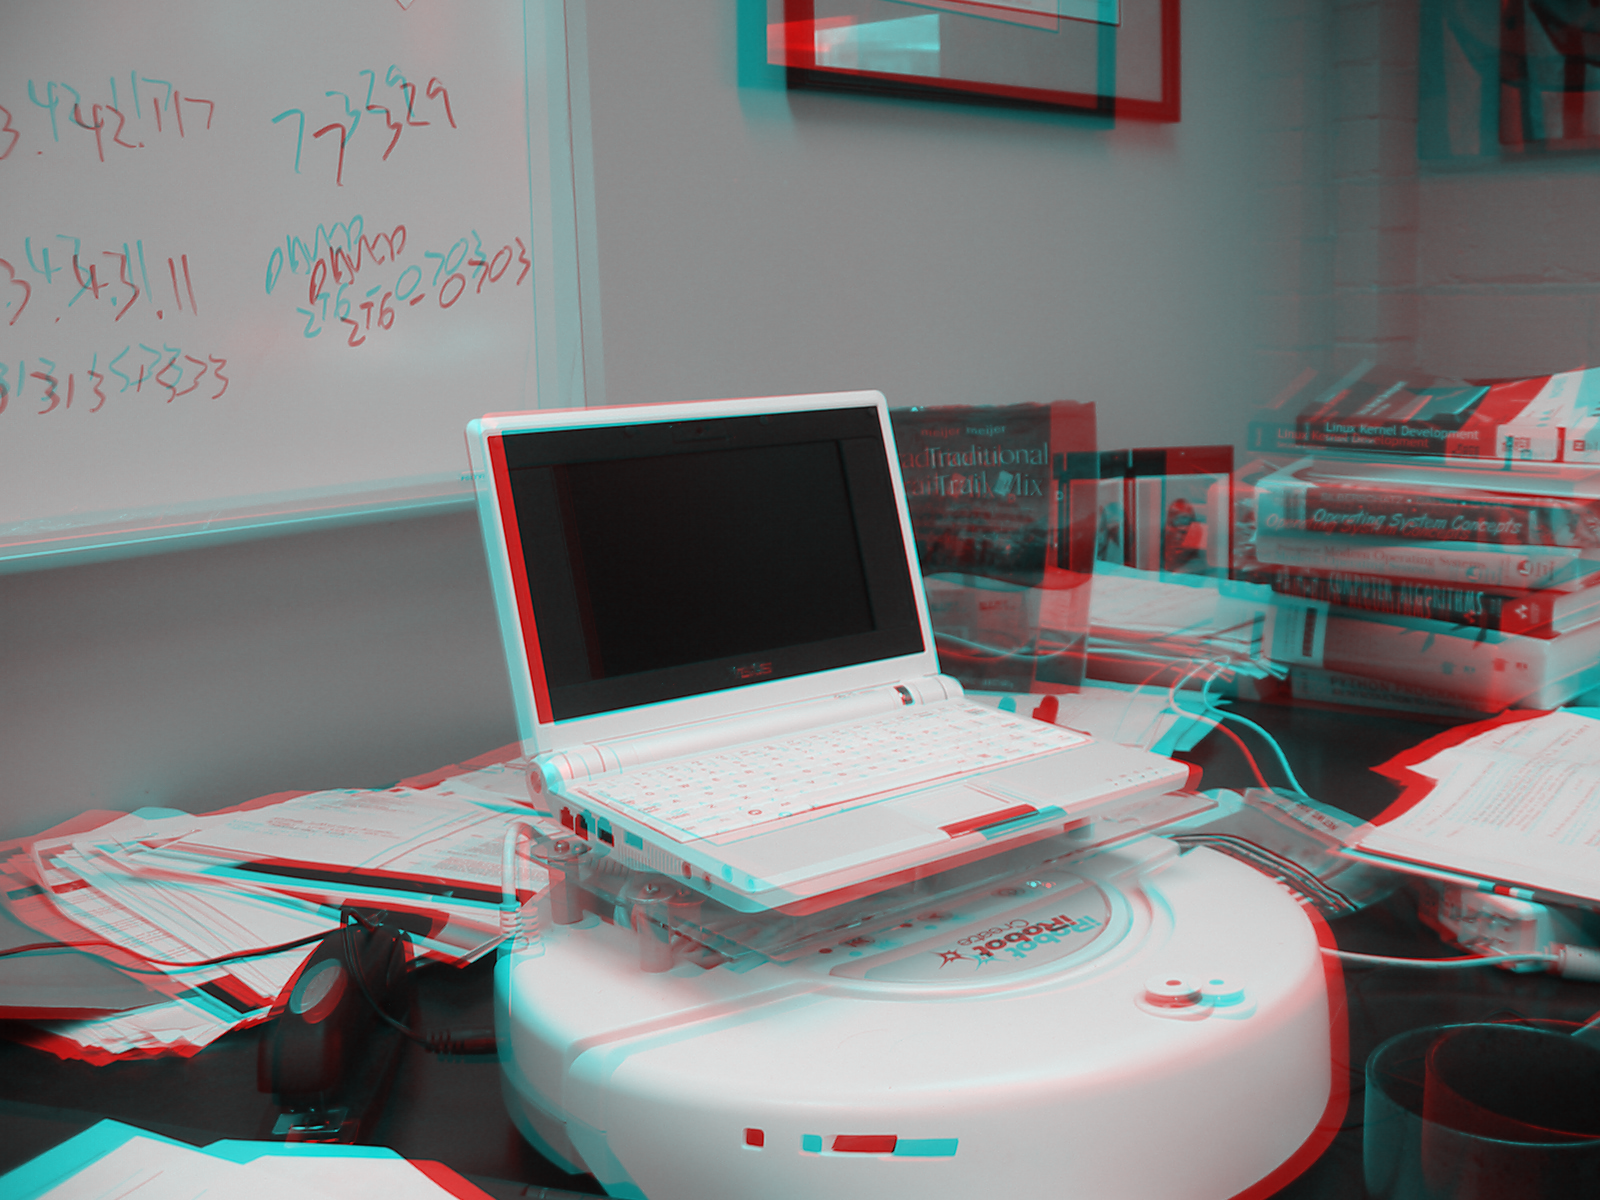
This next set of images is of a robot on a CS prof's desk, taken using a regular digital camera. In the first row, the image on the left is the left eye image and the image on the right is the right eye image. In the second row, the first image is the 3D image, and the second image is the 3D image obtained by converting the images to grayscale first. (Some sources have suggested that color information is lost when converting images to 3D in this manner, so the images may just as well be converted to black and white, first.) Again, you will need a pair of red/blue glasses to see the depth in the last two images.
 |
 |
 |
 |
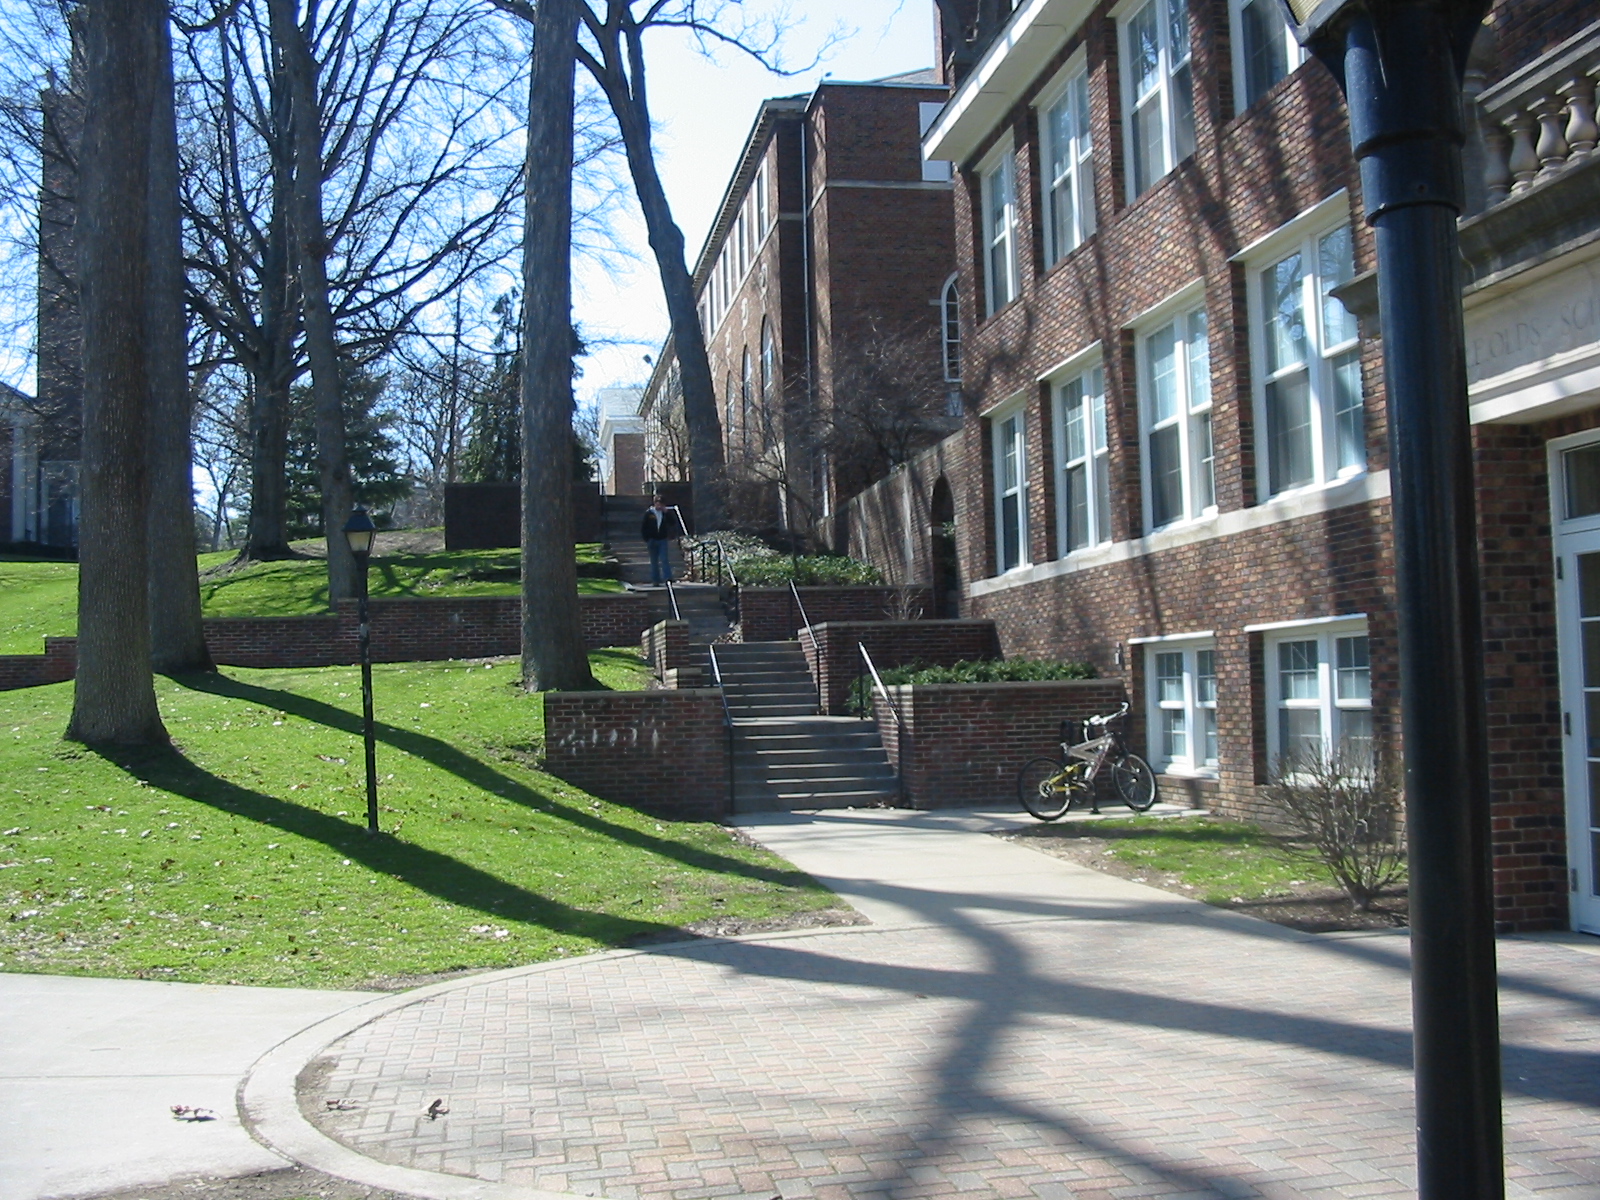
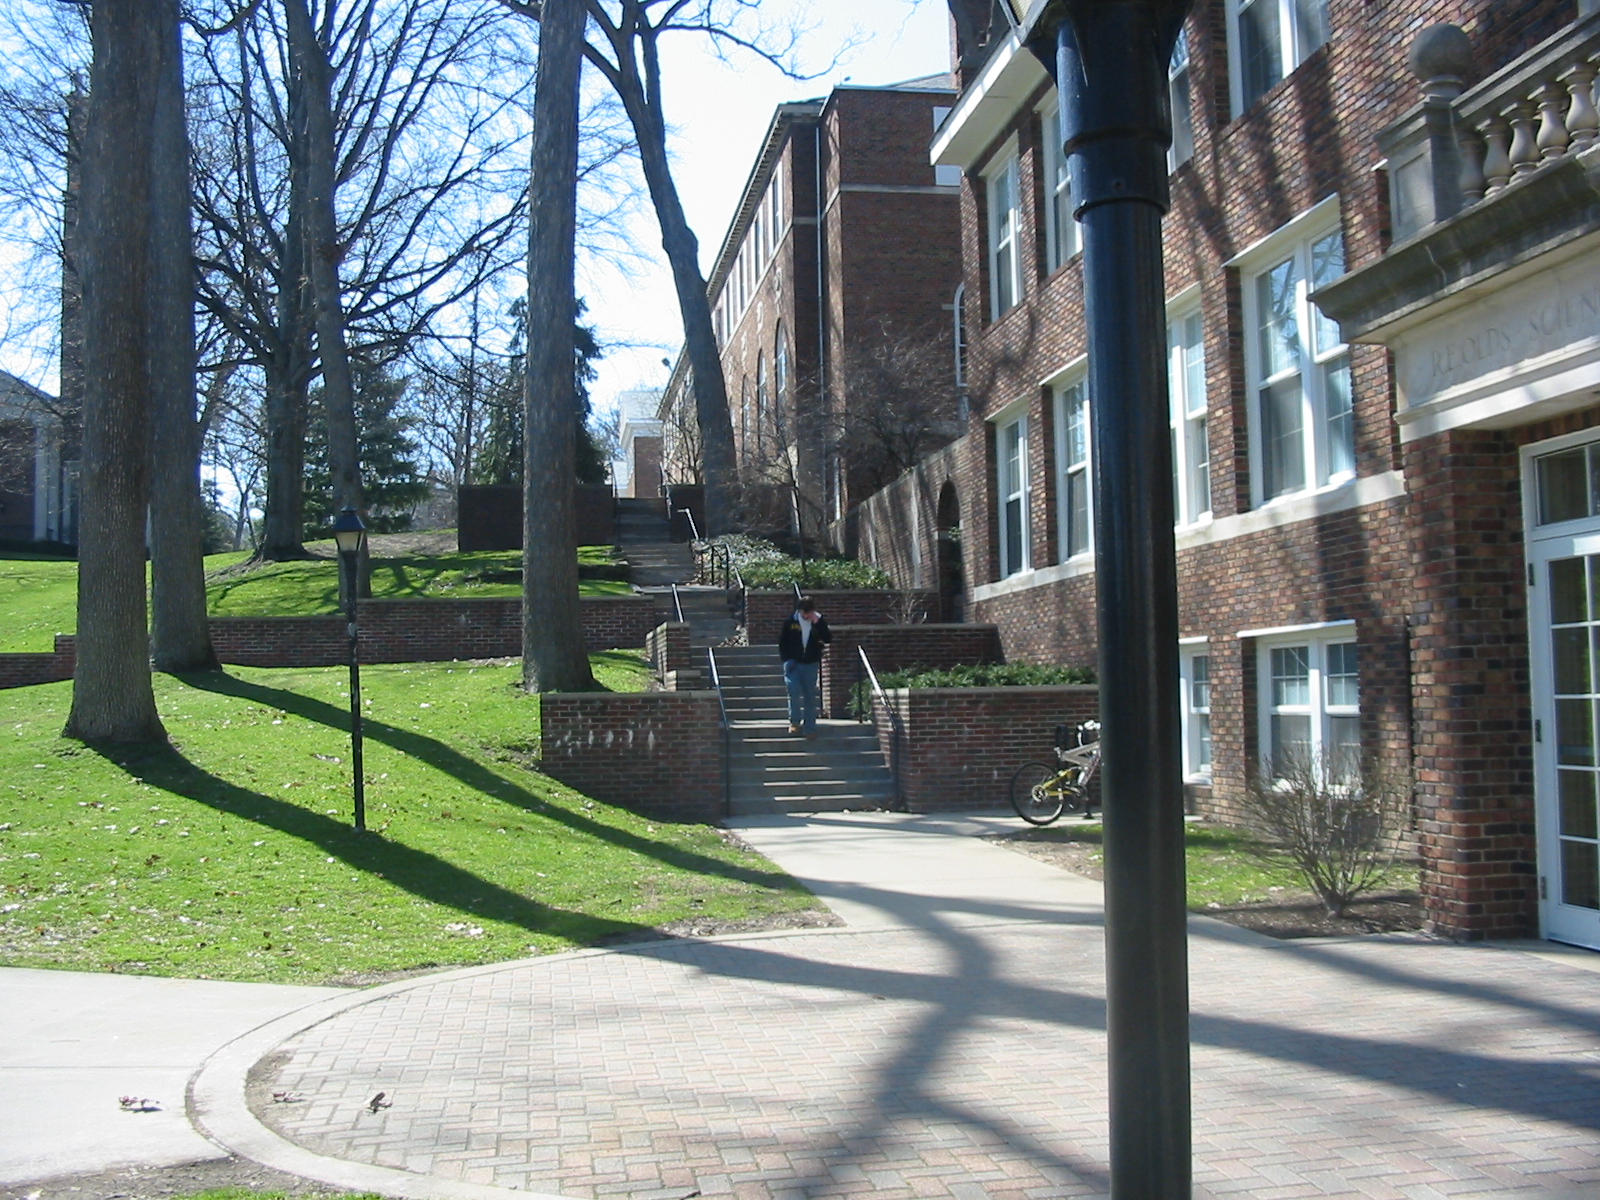
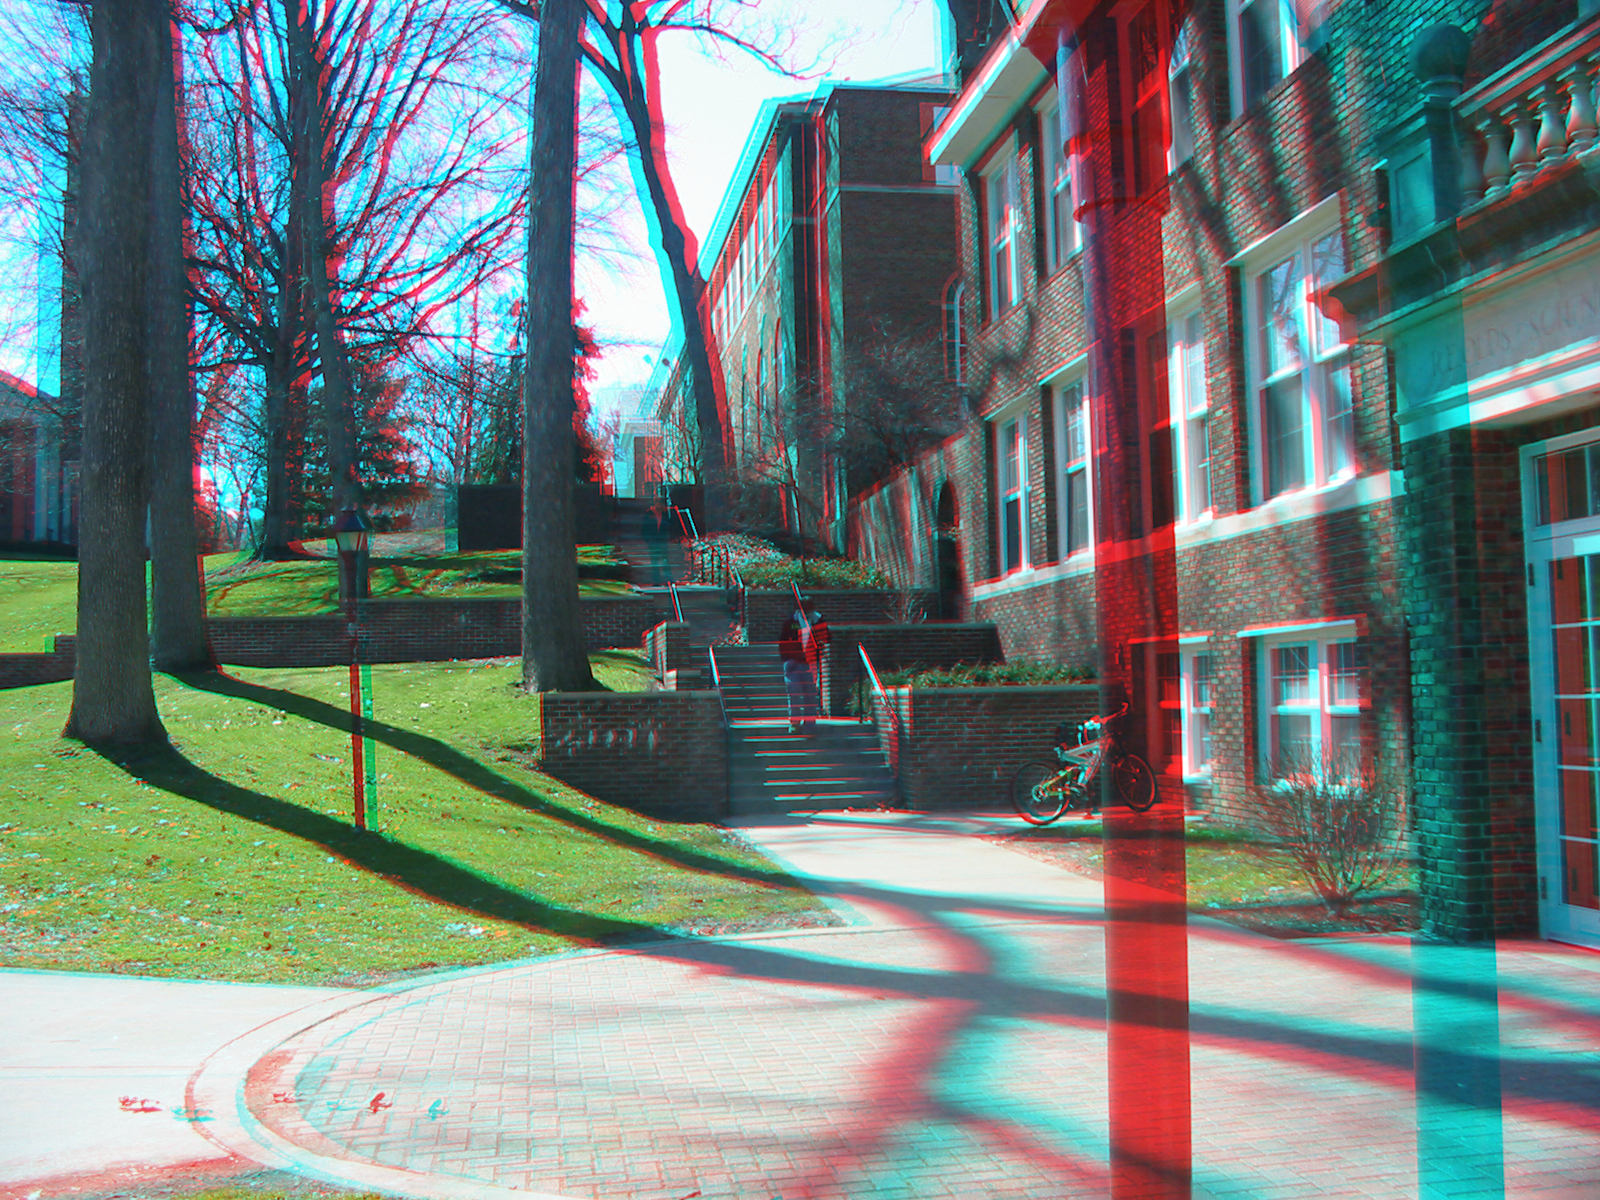
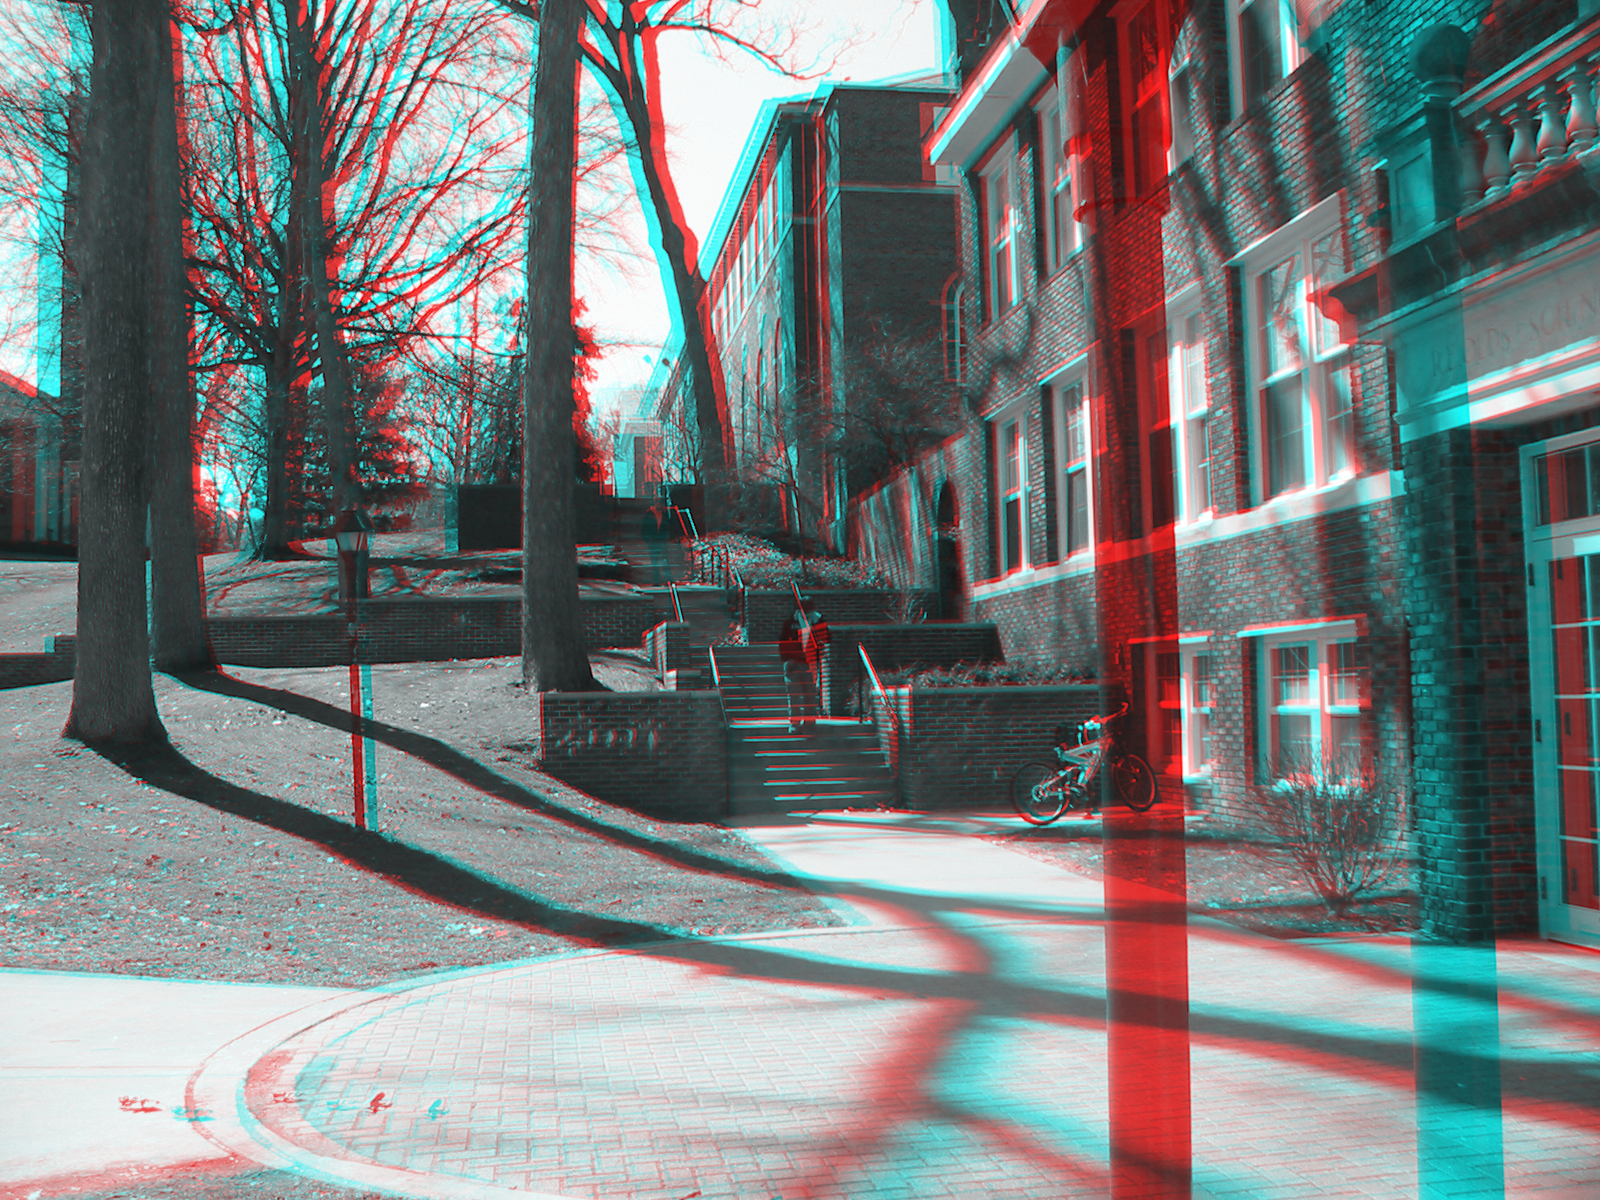
This final set of pictures was obtained by taking a few pictures of the quad with a regular digital camera. Again, the left eye image is on the left, the right eye image is on the right, and two versions of the 3D image are in the second row.
 |
 |
 |
 |
Part 1: Obtaining Pictures
There are several possibilities for obtaining images to make into 3D images. For each possibility, there must be an image representing what the left eye would see, and another representing what the right eye would see. You may need to experiment with different options to find something you like.
Possible methods for obtaining images include:
- Obtain stereographic images on the web (legally, not violating
any copyright
policies). The Mars
Curiosity Rover website at Nasa's Jet Propulsion Laboratory
has many interesting photos available. Pick out left and right
eye images for your favorite shot. Left camera eye images will
contain the letter "L" four characters in from the end, and right
camera images will similarly contain the letter "R".
- Use Google Earth to capture images. Within Google Earth, find a view that
you like (preferably one with 3D buildings), and capture it as an image. Then
move the view just slightly and capture another image. How you change the
view will dictate which is the left eye image and which is the right.
- Take pictures yourself. To do this, pick a subject you find interesting. Inanimate objects with some texture or depth, within 10-15 feet of you, seem to work best. People don't make great choices in this situation because they have a tendency to move. Take one photo with your left eye looking through the view window. Then, without moving your head, slide the camera over just enough so that you can now take a picture with your right eye looking through the view window. It is important to keep the camera level while doing this. It is also important to pick an object to serve as a focal point and to ensure that the object is perfectly centered in both images. It may take a few attempts to get this right. If you want to try this and don't have access to a digital camera, check with one of your instructors.
Part 2: Extracting Red and Green/Blue
- Create a new notebook in Google Colab. Add your name, the date,
and a project description into a Text cell at the top of the notebook.
- Write a function that takes two pictures as parameters, one representing a left eye image, and the other representing a right eye image. These pictures must have the same width and height. This function will create a new picture that has the same width and height as the originals. The pixels in this new picture will get their red values from the left eye image, and their blue and green values from the right eye image. The new picture should be returned at the end of the function.
- (Optional, but check it out.) If you are working with color photos, you may find that it is easier to see them in 3D if you first convert them to grayscale. You may copy and use one of your grayscale functions from Lab 2 to do this.
- Experiment with different images until you find something creatively pleasing. Save your 3D image as a new .png image. (You could save it as a .jpg image, but the compression used with .jpg causes us to lose some color information related to the 3D perspective.)
- Be sure you have included appropriate documentation with your functions. If you used images that you obtained from the Mars website or elsewhere, be sure to include a citation link with the project information in the Text cell at the top.
- When you are satisfied with your results, save your notebook as a .ipynb file. Then submit your .ipynb file, your original images, and your resulting png image on Kit.
* More information on anaglyph images: http://en.wikipedia.org/wiki/Anaglyph_image